You did it. You studied the charts, read up on recent reports, rigged everything, double-checked your connections, planned and executed your attack, and hooked a once-in-a-lifetime fish, a cow-size Southern California Bluefin tuna. Most planning stops here, but you’re only about halfway there. Caretaking of the catch is just as important as the act of fishing. How we care for our catch says a lot about us as anglers. Given the time, money, and effort it takes to go fishing, our table should be rewarded with the best, most pristine product. As conscientious anglers, we owe it to our environment to respect and caretake those creatures we kill for our consumption and pleasure. After all, the price of fish at your local seafood market is through the roof, so why not try to get the best product out there?
Many anglers put most of their efforts into planning, locating, presenting, and hooking the fish, but what happens after this? Are you ready to land that fish you’ve been chasing? The entire process of fishing, landing the fish, processing it correctly, and enjoying the fruits of your labor is unique to us anglers and fishermen. Through this article, we’ll walk you through the necessary steps to harvesting your catch to small tips in making sure the quality is top-notch when it gets to your table.

The End Game
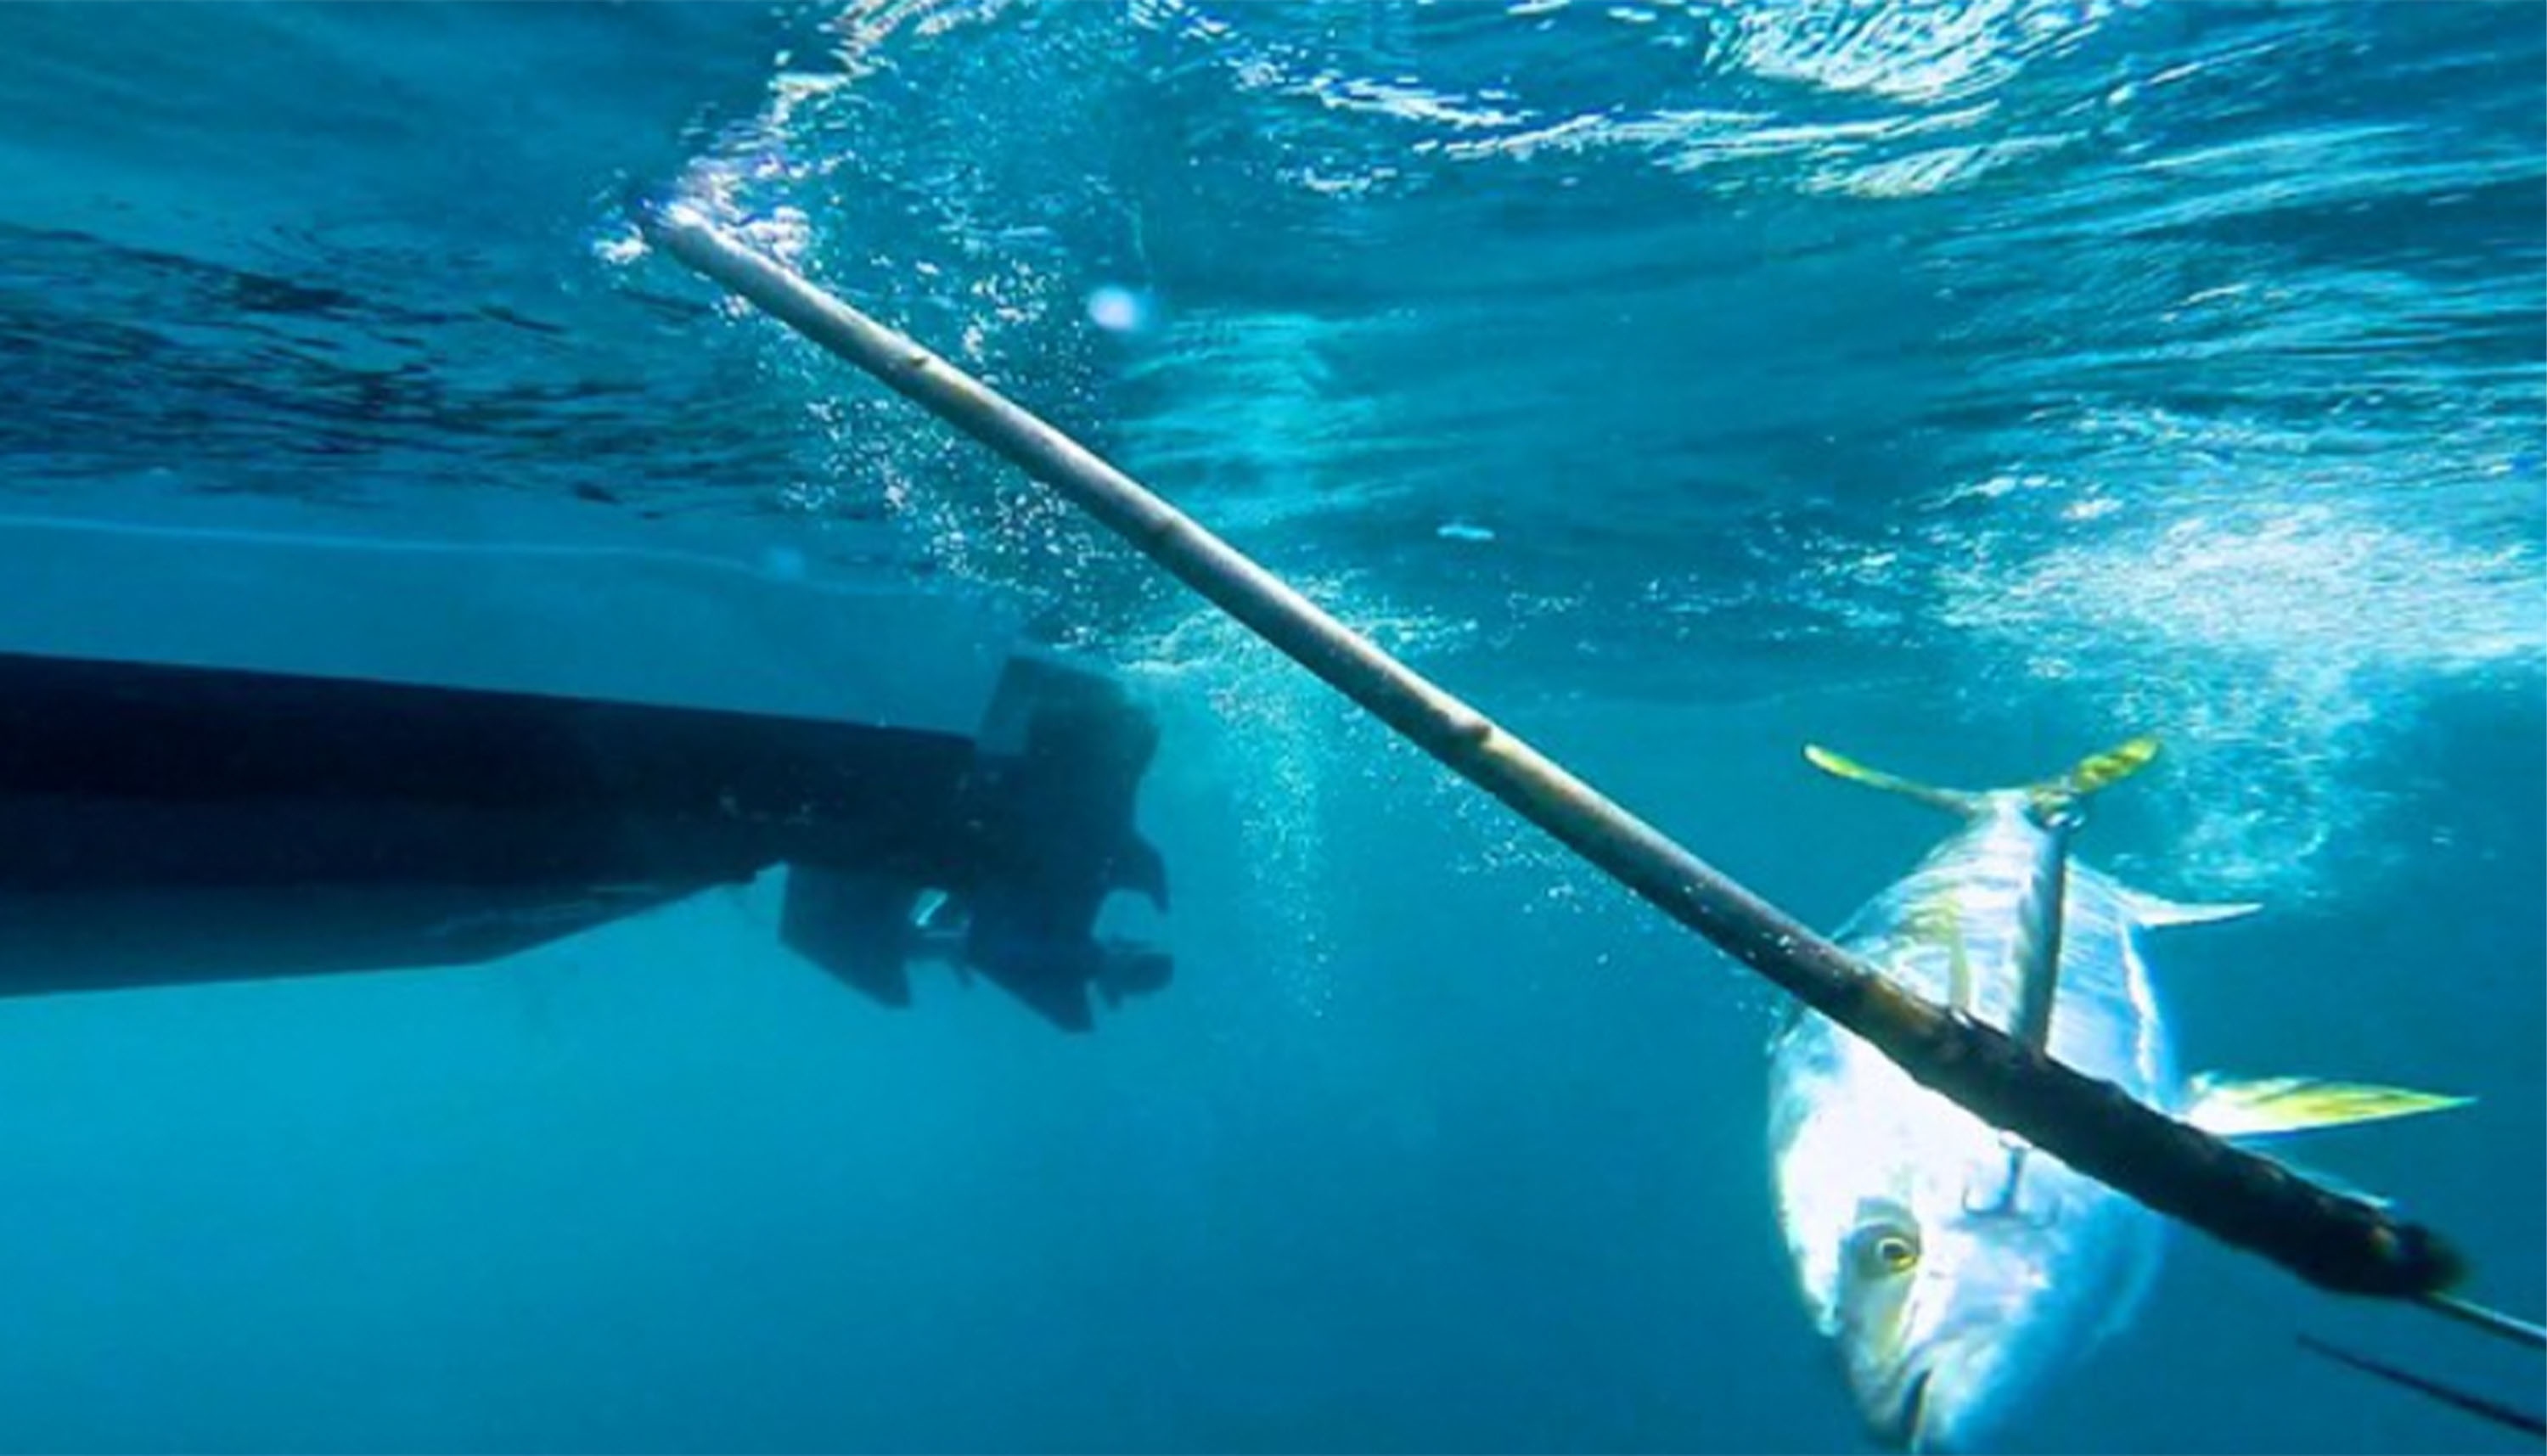
When discussing the end game, we’re speaking specifically about larger fish when every last inch of the fight counts. One of the best pieces of advice I’ve received was from fishing with Captain Barry Brightenburg regarding fishing giant Bluefin Tuna. If an angler is fishing from a skiff or a smaller operation than a sport boat where the gunnels are relatively low to the water. In this scenario, there is a need to wind that fish within a foot or two from the tip of the rod to get a proper shot with the gaff. This makes it easier for the person gaffing, meaning the angler won’t have to do that big lift at the end of the fight causing the gaff man to reach out due to limitations on fishing leader length.
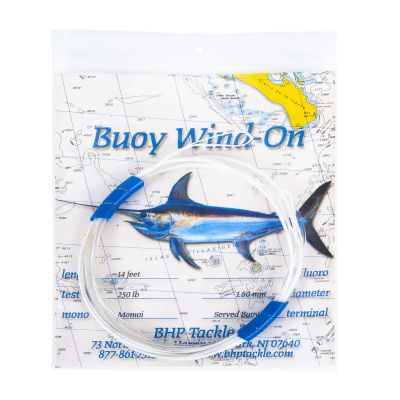
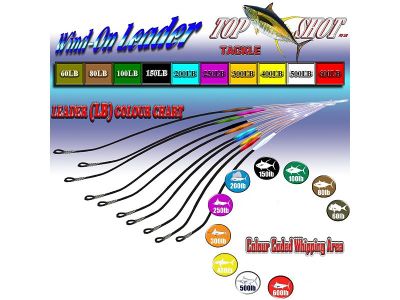
For this reason, many big game anglers have switched to wind-on leaders, knot braided line to fluorocarbon connections, or a super short leader to a barrel swivel. For example, Captain Duane Diego from Pinnacle Sportfishing opts for using a 24” or less leader for his kite flying fish presentation precisely to get as close as possible to the fish for a gaff shot.
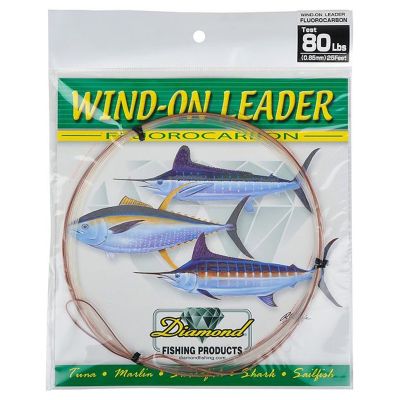
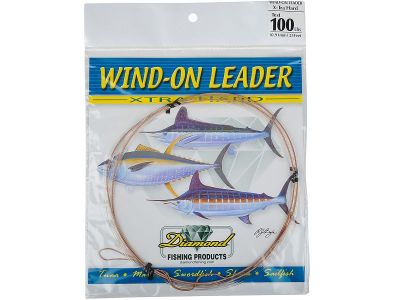
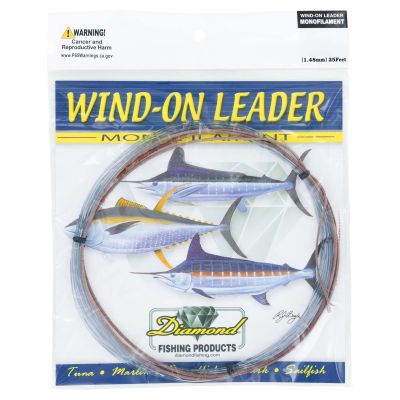
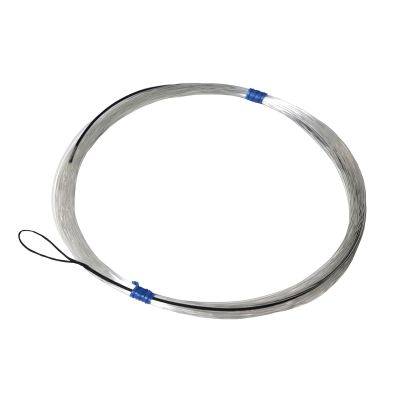
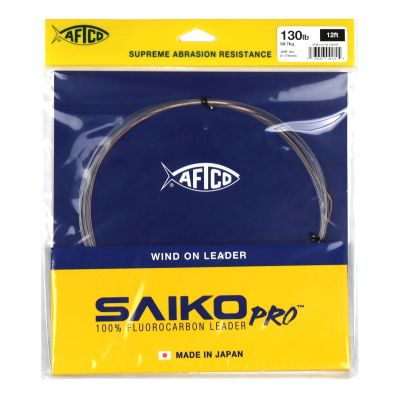
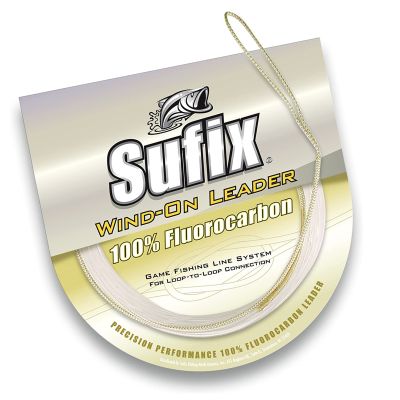
Wind-On Leader Options
The Gaff Shot
Nothing is more heartbreaking than getting your fish to the boat only to have your fishing partner fail on the gaff shot. Gaffing a fish is something that is genuinely overlooked and does require technique. If one wants to get it down, we recommend jumping on a San Diego Sportboat to see how the deckhands do it, they are magicians with their gaff hooks. I’ve seen deckhands on several boats gaff a Dorado that has jumped out of the water, perfectly impaling it in mid-air.
First, gaffing a fish is not a swing or something you’re trying to hit the fish with; it is more of a reach and lifting technique. Once the fish is within gaff range, you’ll want to point your gaff hook down. At this point, you’ll want to look for the head of the fish and reach out with the gaff beyond the fish. Next, place the hook in the water and firmly motion like you’re trying to bring the fish toward the boat with the hook. Once the fish is hooked, you can move upward so gravity does its job and keeps the fish on the hook. This is very simple when the fish is exhausted and exponentially more difficult with a livelier, “greener” fish.
As I’ve heard repeatedly, every minute of fighting a fish reduces the chance of landing that fish. In this case, anywhere on the fish you can get the gaff into is a win. That said, there are ideal locations to gaff a fish based on the need not to damage the meat on the fish you plan to consume. Ideally, the best place to gaff the fish, especially if it’s one of size, is right behind the head. This location allows for deep penetration and lets you control the fish. If a secondary gaff is needed, the throat is another excellent option and disables the fish by piercing some vital organs, like the heart. Lastly, if you need to immobilize the fish, a gaff in the base of the tail is also acceptable, as this meat is full of tendons and lesser quality.
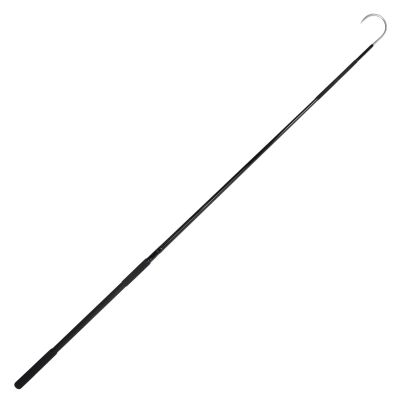
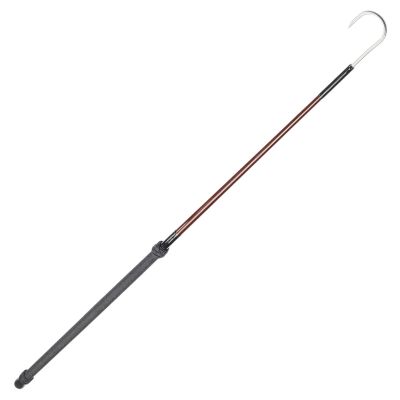
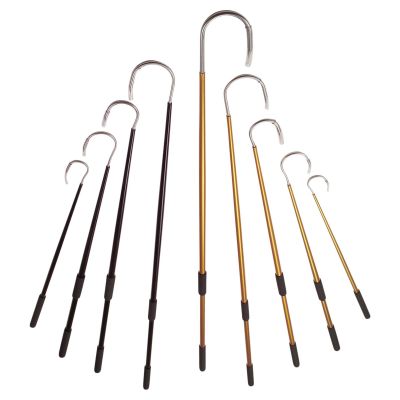
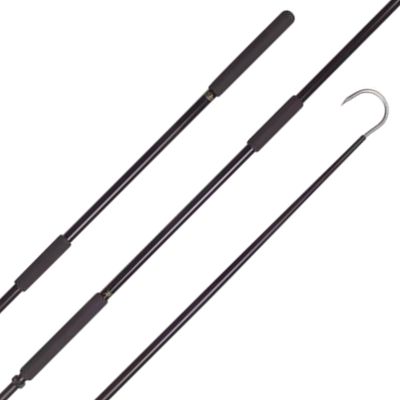
Gaffs come in many different constructions and sizes, each serving a purpose.
Flying Gaff
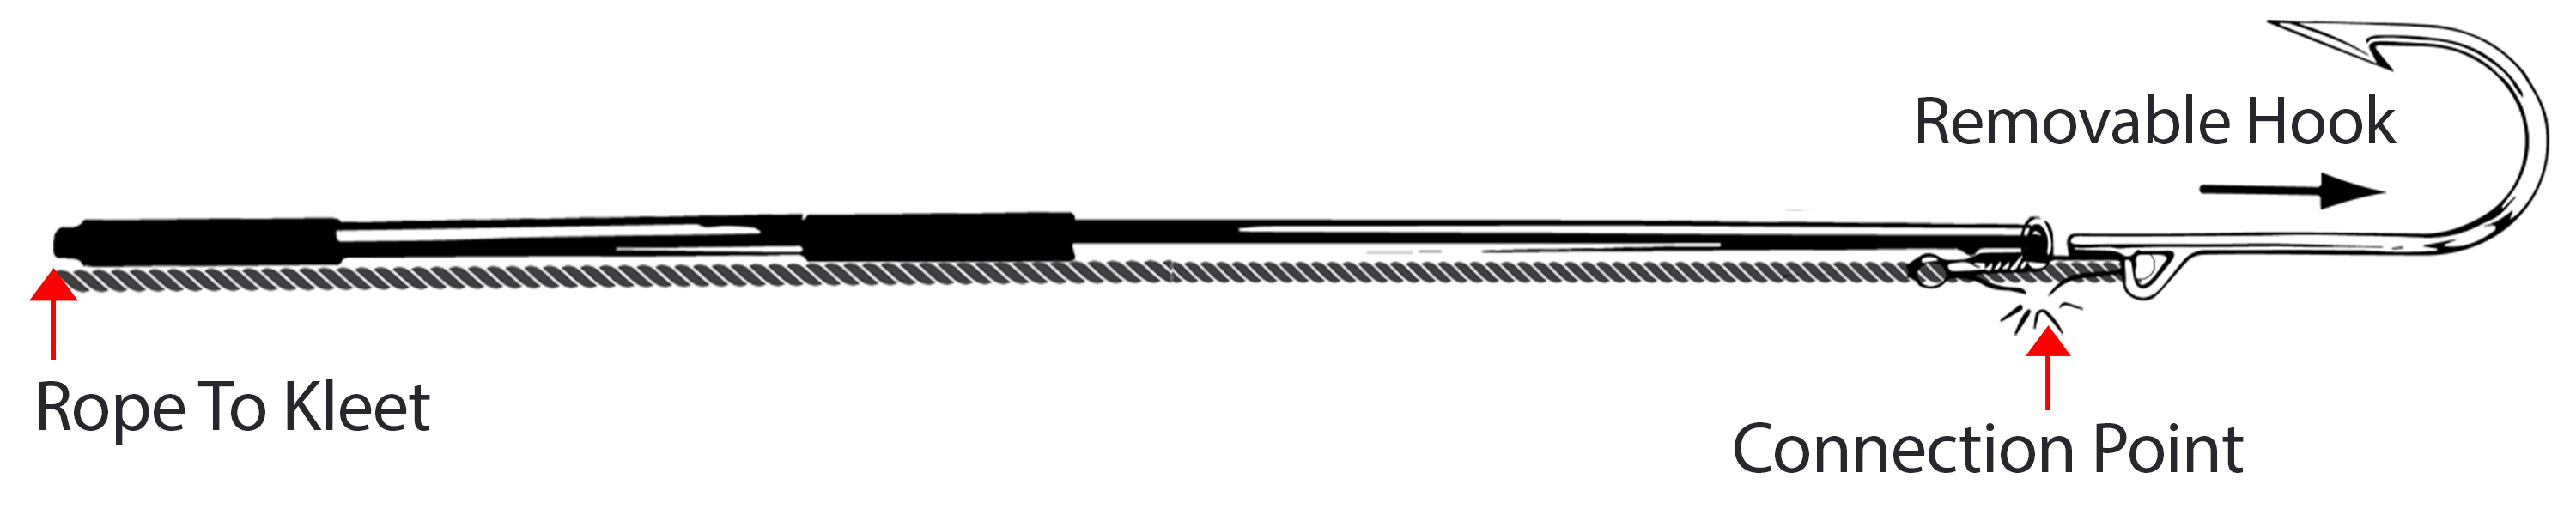
Flying gaff is necessary when dealing with large fish and large fish that are capable of doing damage or are still green. The hook on the gaff releases once the fish is hooked and is then attached by a connection rope. This allows the fish to continue to wear out and not cause damage or danger to the boat and crew. A flying gaff should predominantly be used on giant quarries like swordfish, tuna, and sharks.
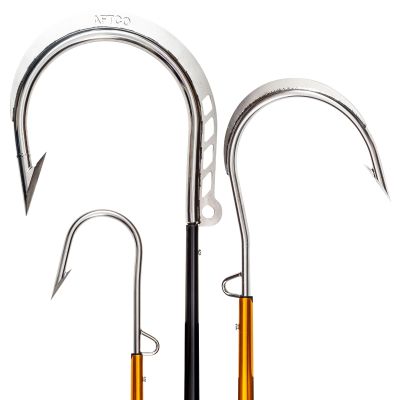
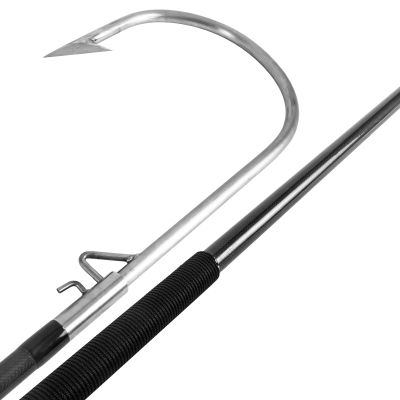
Regular Gaff
Allows the angler to be more nimble and more applicable to everyday angling. With good hook setting and fish management, you should be able to handle most fish you encounter. You will want to match the gaff’s hook size to the fish’s width. Using the correct gaff width prevents tear outs and poor hook penetration. A common rule is to have the gap width be at least half the width of the fish.
The flexibility of the gaff handle is also a factor to consider. A bit of bend will go a long way if you’re battling a large fish. When lifting a fish, it is important to always lift with the gaff handle vertically to avoid snapping or bending a gaff.
Dispatching Your Catch
You’ve successfully fought and gaffed your fish, and the caretaking process begins. First, take the necessary steps to take care of your catch, as this can be the difference between having your fish taste like it was prepared for you at a NOBU-style restaurant or something canned in a factory.
Incapacitating Your Catch
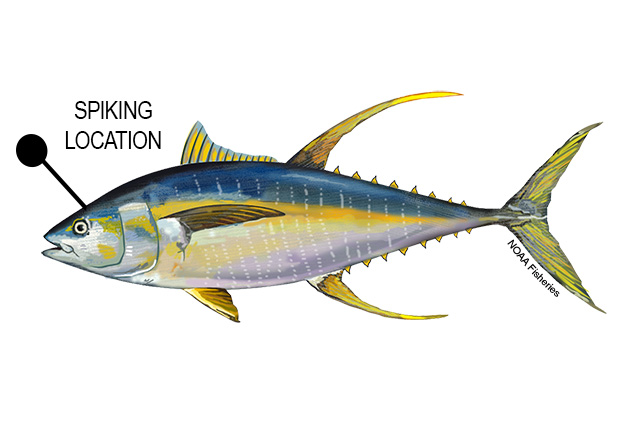
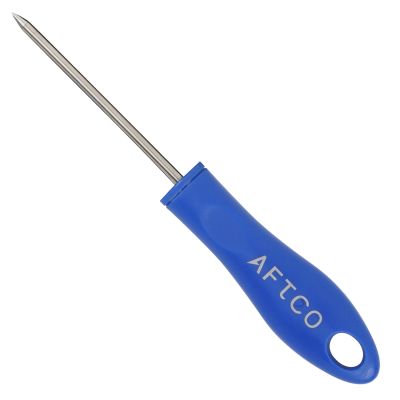
Once you’ve pulled your catch on board, you want to incapacitate your fish immediately. Not doing so can lead to someone on the boat being injured or causing damage to the boat. It is also imperative to do this so the fish does not bruise its flesh while flopping on deck. Fish are pretty delicate, and a fish buyer can quickly look at a fish and notice bruising, which will cause blood clots in the flesh. To dispatch your catch, you’ll want to use a fish spike. Because there are so many species of fish, you’ll have to get accustomed to finding the kill spot on the species you’re specifically angling. Predominantly the kill spot will be in the middle of the head between the two eyes and slightly back from the eyes. Some fish, like tuna, even have a slight indent which should be your entry point. The spike is driven into the brain, and the fish dies in seconds. This is by far the most humane way to put a fish down. As a side note, a couple of species have a specialized kill spot to reach the brain, and these are predominantly narrow-bodied fish like the Dorado.
Bleeding and Ike Jime Your Catch
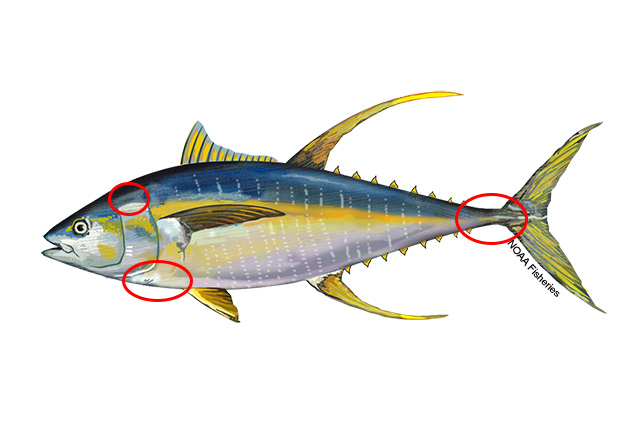
All anglers keeping their catch should be bleeding their fish regardless of whether it is a bottom white flesh fish or a pelagic, dark meat fish. Allowing the blood to be pumped out of the fish will ensure you have the best product for consumption. In addition, bleeding the fish will enable the blood, which is a vehicle for bacteria, to leave the fish. You are also releasing a large amount of liquid from the fish, which will help in long-term storage. There are several ways to bleed a fish; you’ll get different answers depending on whom you ask and the species. Below is an image of some key locations to bleed your fish. A simple incision where the red marks are will do the trick. Additionally, anglers may rip out a gill. That works but is less effective.
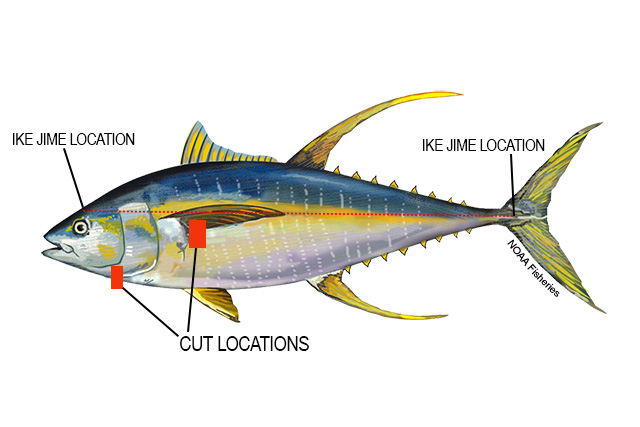
While your fish is bleeding out, it is an opportune time to Ike Jime your fish. The Ike Jime process can stop the nerves from reacting to the fish's impending death. So, instead, perform the act of sticking a wire down the length of the vertebrae and destroying the fish's spinal tissue.

Ike-Jime produces a biochemically superior grade seafood product as the process helps to eliminate stress and the natural consequences of death. When a fish experiences stress, its brain floods the muscles with lactic acid, cortisol, and adrenaline. Core body temperature also rises. Combining hormones and elevated temperature makes muscle tissue mush and negatively impacts taste. When performed correctly, Ike Jime prevents this from occurring. Robbie Gant: AFTCO / HEAD OF PRODUCT DEVELOPMENT

Make sure to gut your catch, which will ensure you get rid of bacteria-filled organs, dispose of any additional blood, and pull out warm guts to be replaced with ice in the vacant gut cavity.

Icing Down
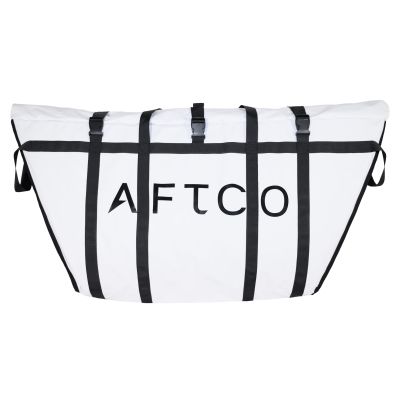
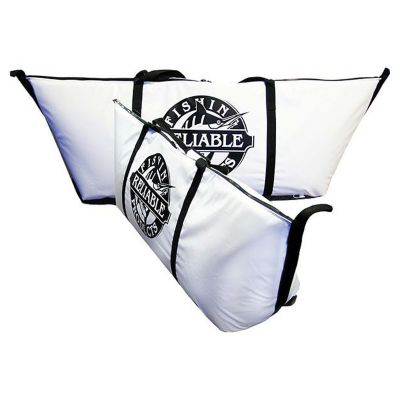
Icing down and bleeding your catch are the two most important things that need to be done to ensure that you bring premium quality meat home. Luckily over the last decade, we’ve been able to get away from big, clunky coolers and have replaced them with insulated harvest bags. These are great because they allow the bag’s shape to be manipulated when stored on deck. Due to their shape, harvest bags are more effective in holding the fish as they are more fitting the body shape of the fish. When prepping for a trip, it’s a good idea to have one bag topped off with ice and another designated to put the first catch in. This allows you to shovel ice onto your catch. Make sure you take the time to fill the gill and gut cavity with ice. Make sure to put some saltwater in to create a saltwater slurry which will help spread the cold and keep the water temp cold as well.
Reliable Fish Bags and AFTCO Harvest Bags come in several different sizes; for Southern California, the author’s favorite size is the 30” x 72” bag, as he fishes in a 22” center console. This size bag fits 120-150lb. Bluefin with no significant issues. Depending on the size of your vessel, you’ll want to play around with sizing.
-
 DNR - AFTCO Harvest BagsOut of stock
Tricks Of The Trade From The Author
A couple of items only sometimes get mentioned when speaking about the caretaking of your catch. I’ve learned from years of working at a fish market and processing fish and my experience.
1) Not all ice is created equally: Good ice can be challenging to find. What I mean by good ice is the shape of the ice. What I refer to as good ice is chipped or shaved ice. The ideal ice is the kind you can make a snowball with. This takes the shapes around the carcass and allows it to be manipulated and shoveled easily. While this may seem minor, take cubed ice for comparison. The cubed ice will surely bruise your fish’s outside and result in damaged meat. The bigger the fish, the worse the scenario with cubed ice. If you have a resource for chipped/shaved ice, keep them stoked and keep it a secret.
2) Let it sit: Every restaurant selling seafood has it all wrong; claiming they have the freshest catch will provide the best meal. The last thing you want to do is eat fish that’s been caught on the same day. When I worked at the fish market, letting fish rest on ice for at least 24 hours was essential. When caught, fish fight for their life, and their muscles release lactic acid, which causes rigor mortis. Letting the fish rest on ice gives the fish’s body a chance to have those chemicals break down and have the texture of the fish be ideal when cooking and raw.
3) When processing at home, make sure you tray your fish after cutting and refrigerate for 20 minutes over paper towels or a dry rack. Allowing the excess moisture to come off the fish will provide a higher quality item once you go to vacuum seal.
Enjoy your treats from the deep.
Images provided by NOAA Fisheries. NOAA label is for image credit only. It does not signify an endorsement of Melton Tackle from NOAA.