By far, the most exciting way to fish for Pacific Bluefin Tuna in the Southern California Bight is with the application of a kite. If presented accurately and skillfully, you may have the opportunity to see one of these strikes, which will be a life-changing experience. (To get an explanation on kite fishing and tackle needs, check out KITE FISHING FLYERS FOR BLUEFIN WEST COAST STYLE). When applying this technique, it’s not uncommon to see fish over 100lbs. fly out of the water in the aggressive pursuit of your flying fish presentation. At times, the strike can be so aggressive between a couple of fish that your bait/lure will get completely knocked out of the water, causing the fish to miss and return for it again even more aggressively. While in past articles, we’ve explained and summarized the tackle needs, in this article, we’ll look to jump in on rigging components to fly a kite as well as rigging your bait.
KITE ROD & REEL
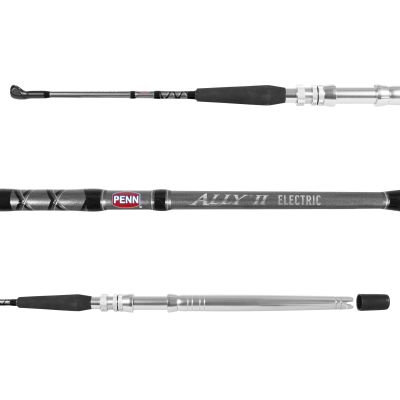
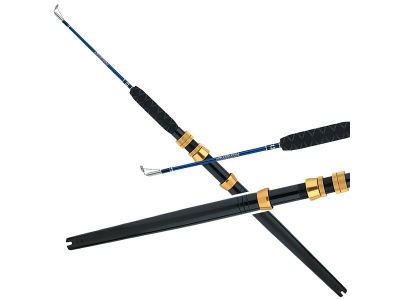
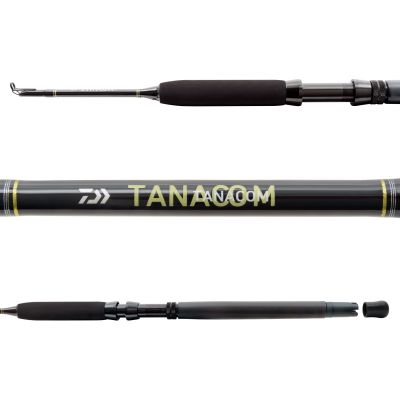
Your kite rod should be a short stout rod with 1-2 guides and may come as a straight butt or curved; this is all the preference of the angler. The short length should make it maneuverable so that you can easily stay out of the way of your main bait/lure rod. These rods are specially made for this fishing technique. The most significant distinction between these rods is the components used (i.e., guides, reel seats, etc.). Something to note is that while these rods are not extremely technical, you should opt to purchase a good product as there are a lot of expensive items to which this rod is connected to. Some things to consider are heavy-duty ceramic guides ensuring there is no damage to your kite line and making sure components are made of top-quality saltwater corrosion-resistant characteristics.


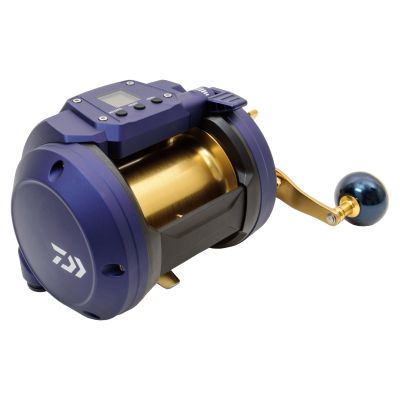
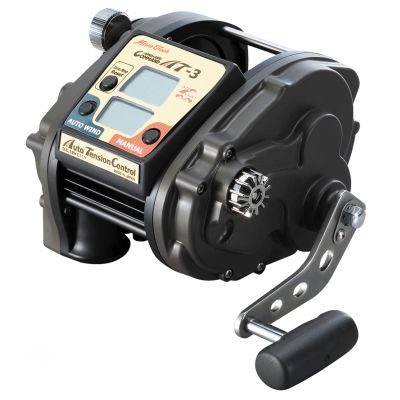
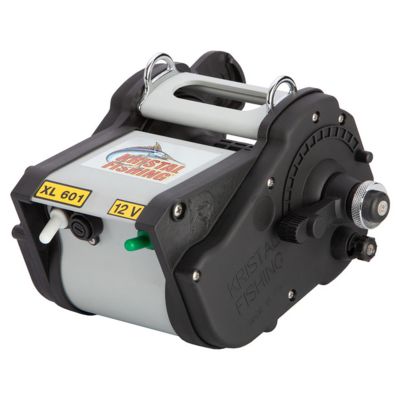
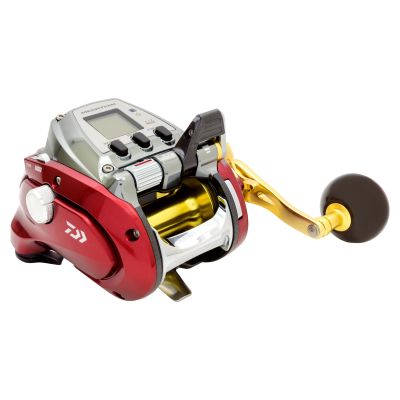
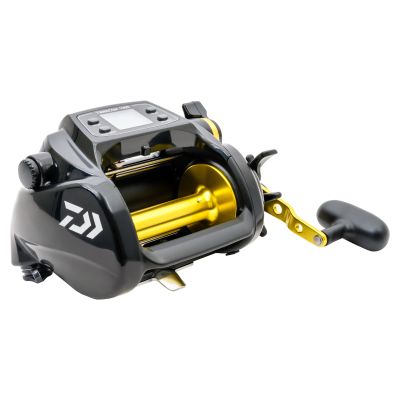
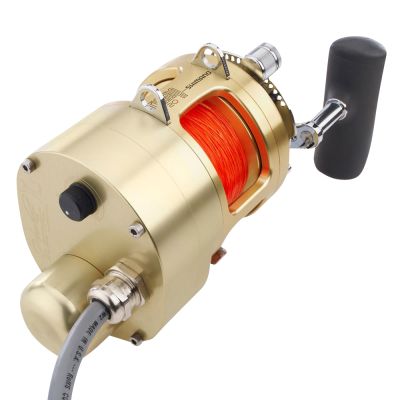
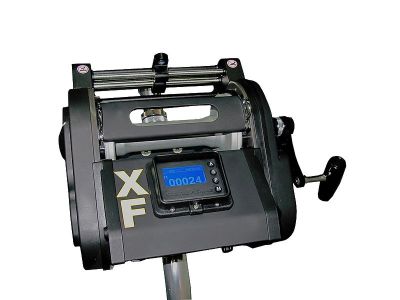
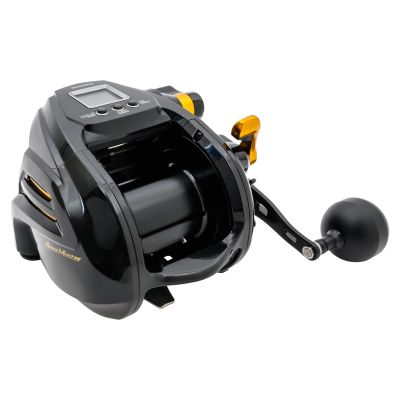
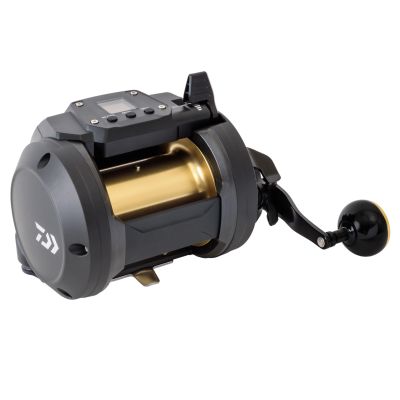
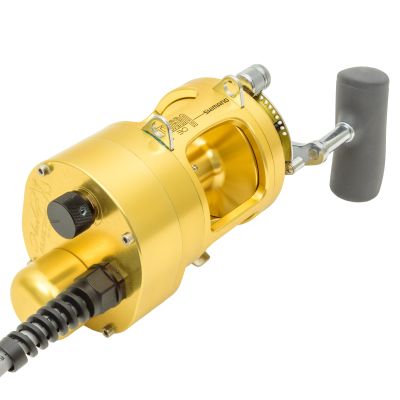
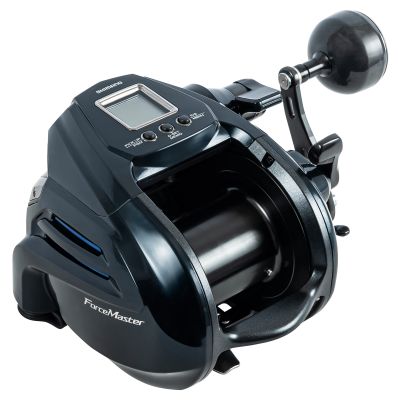
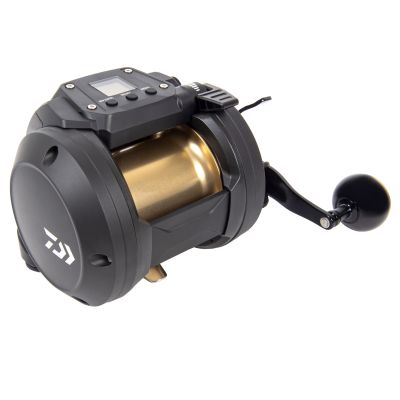
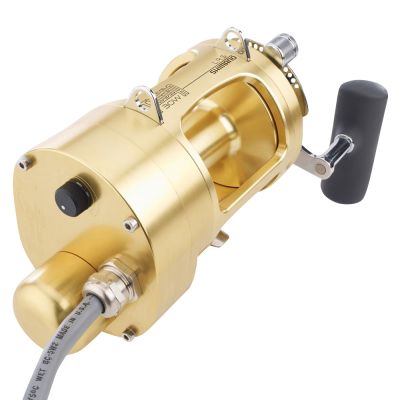
Your reel should be an electric reel, which is quite different than, say, a swordfish heavy-duty deep drop electric reel. This is not to say that you can’t fly a kite with a manual reel. If you’re looking to have kite fishing be part of your repertoire, then an electric reel is surely the way to go. Today, manufacturers have made electric reels that are well suited specifically as kite reels. These reels tend to be more compact, have higher speed, lower line capacity, and tend not to have the drag ability as the bigger swordfish/deep drop reels. Holding 400 yards or more should be sufficient for this application. You will want to have a reel that can get enough 60lb. braid on the spool. This braid rating is not the rule, and in some applications of lighter or heavier wind, an angler may have to increase or reduce the line strength. I am still waiting to see wind and a kite that will pull at or more than 60lb. of drag; and if you are fishing in conditions with this much wind, then our hats off to you. Ideally, a 50-60lb. braid is more than sufficient. Electric reels, as you might surmise from its name, are electrically powered, which adds another layer of complication, meaning that you’ll need to supply the reel with a power source. Many boats are equipped with a power outlet on deck. Suppose there is no power source on deck. In that case, there is a myriad of solutions, from plugging right into a power source like a battery, to specifically made high-power, ultra-compact electric reel batteries.
-
-
-
-

-
-
-
-
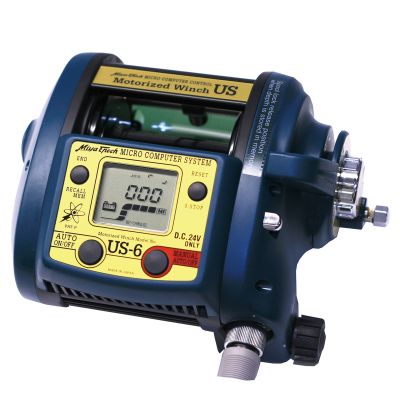
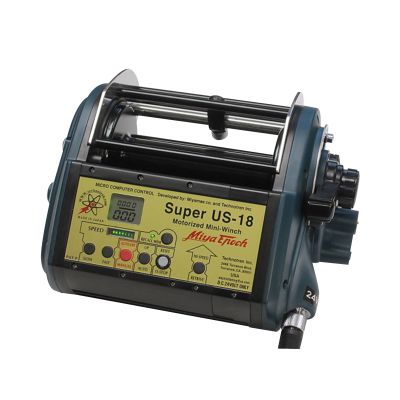 Miya Epoch Electric ReelsOut of stock
 -
-


RIGGING YOUR KITE FISHING SETUP
RIGGING YOUR KITE ROD
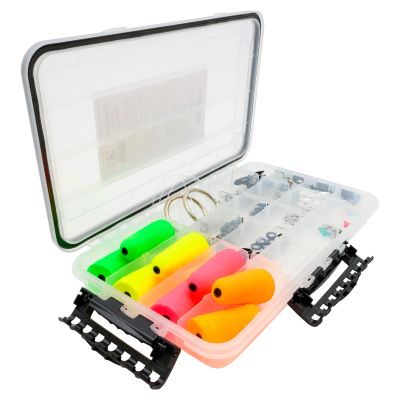
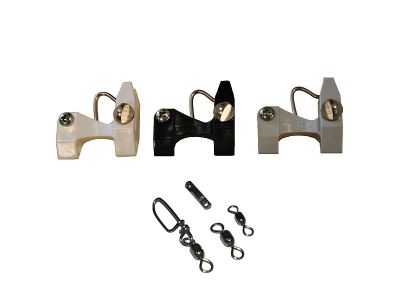
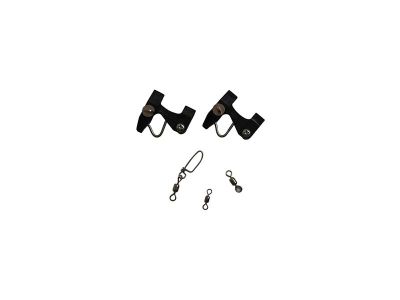
Again, there will be subjective input on lengths applied in rigging, and for the sake of this article, we’ve taken the middle road and most standardized rigging applications. Once your kite rod and reel have been set up, you’ll need a kite kit. Many brands sell the kit as well as pieced-out products. The basic items in the kite rig are:
- Snap Swivel: Again, strong enough to hold 60+ pounds of pressure but avoid going too large as the added weight may affect the kite in light wind scenarios.
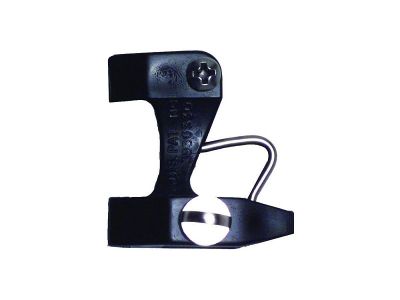
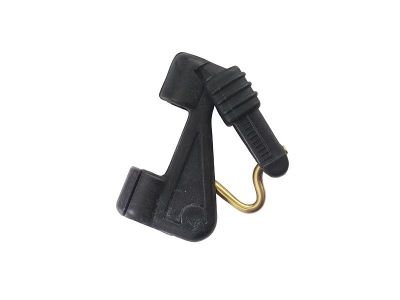
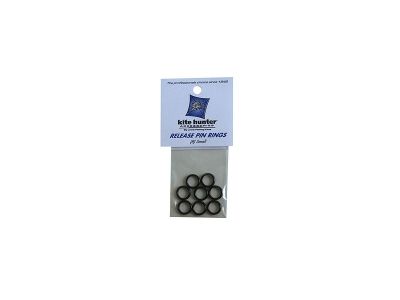
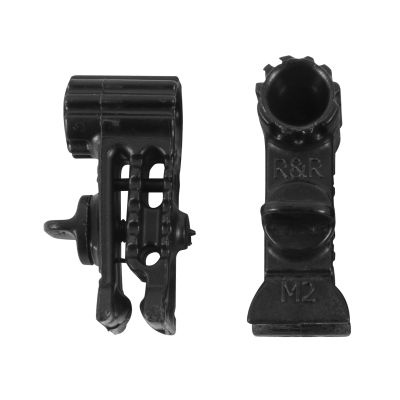
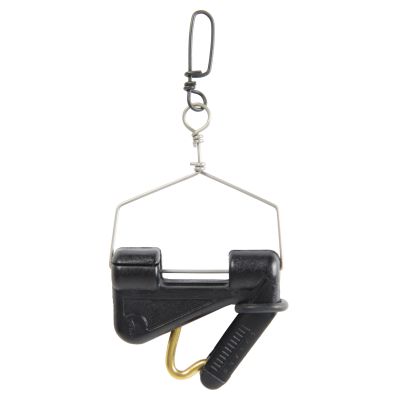
- Kite release clip: There is a variety of brands that make kite release clips, and they differ predominantly in how they can apply pressure to the release. They all work off the same principle of being able to hold a line and release with pressure applied.
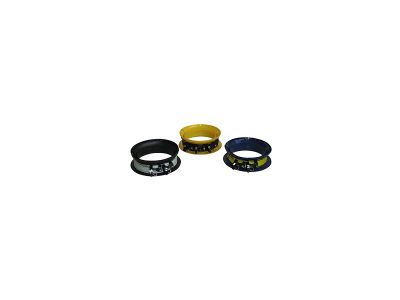
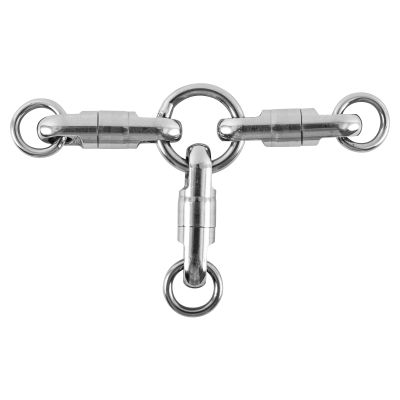
- Stopper swivel: The most technical component of the setup. The swivel needs to be big enough to stop the kite release clip and small enough to easily go through your rod guides, go through your level wind guide, and easily wind onto the reel spool. The heavy cylindrical swivels are a go-to for this application. If you purchase a kit, these will already be sized appropriately, taking the guesswork out of selecting the correct size.
The diagram below shows the organization of rigging these elements. Keep in mind that fishery to fishery and the application of the use of this technique will change the dynamics of spacing and rigging.
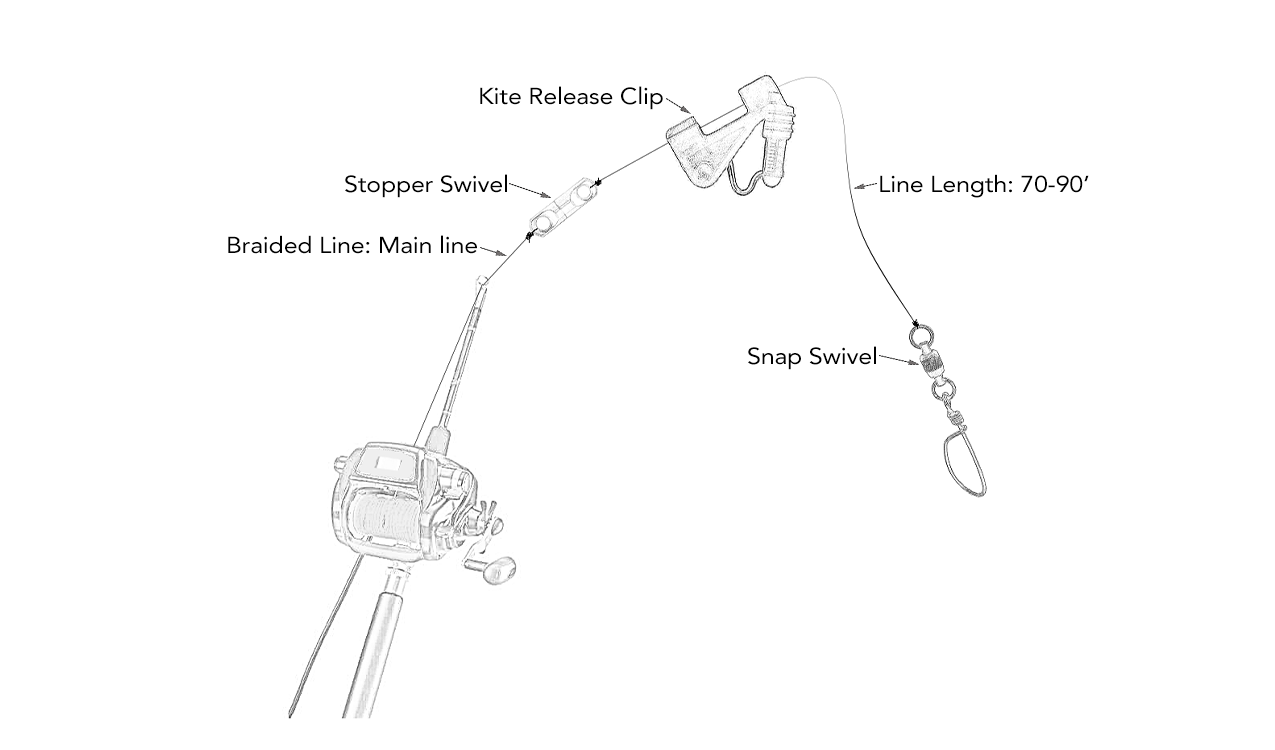
Illustration showing a kite fishing rod rig setup. A braided main line runs from the reel to a stopper swivel, which connects to a kite release clip. A 70–90 foot section of line extends from the clip to a snap swivel at the end, used to attach the kite or fishing line for deployment.


RIGGING YOUR KITE
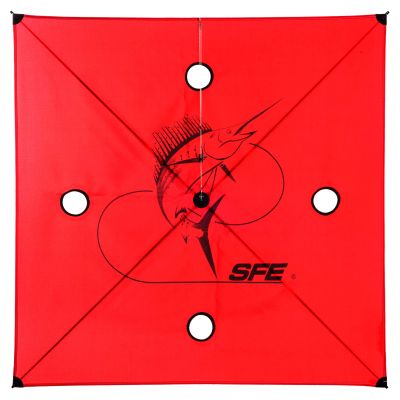
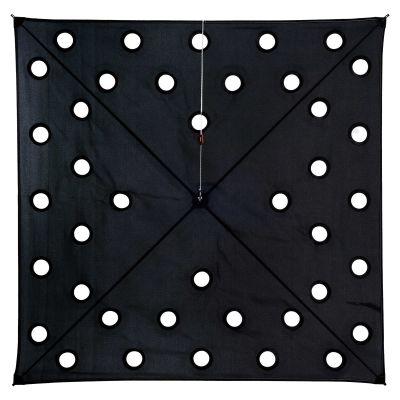
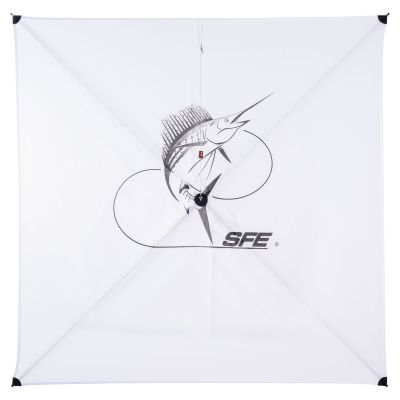
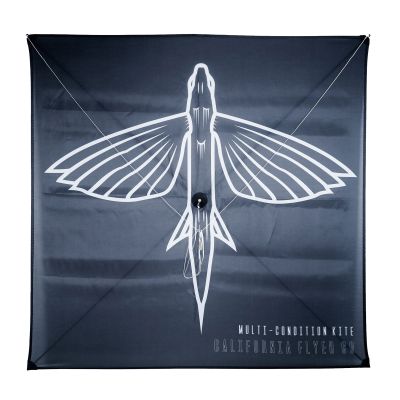
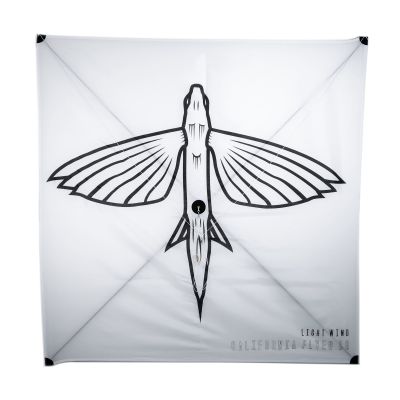
The type of kite used for kite fishing is a specialized kite. It may look simple, but these are developed with kite fishing applications in mind. Kites often come with lighter and heavier spars for different wind conditions. Additionally, the kites themselves are developed with different wind conditions in mind, and the topic of kites on their own can be quite lengthy. For the sake of this piece, we’ll look to keep things simple and address two different kinds of kites, the Boston Big Game Kite, and the usual square style kite, of which there are several brands that make them.
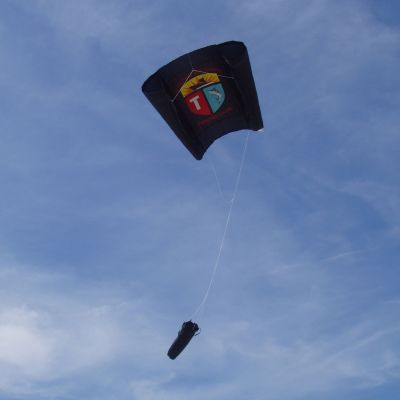
The Boston Big Game Fishing Club Kite is the most user-friendly of the kites. It can be, at times, a little tricky to launch due to the possibility of the trailing sock falling into the water, which you want to avoid. The Boston Big Game Kite has a couple of limiting factors when compared to the square-style kites. The BBG could do better in very light winds and, in the same breath, also does not like high winds. Additionally, the BBG kite tends to fly high, and this can be an issue because you’ll have more lines out to retrieve in order to come too tight on a fish once your presentation has been bit. Because it does fly so well, is easily deployed, and is more cost-effective, it is a useful tool to have at your disposal.
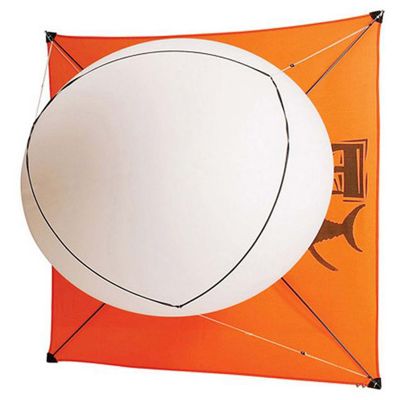
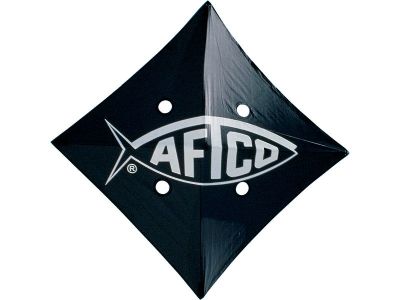
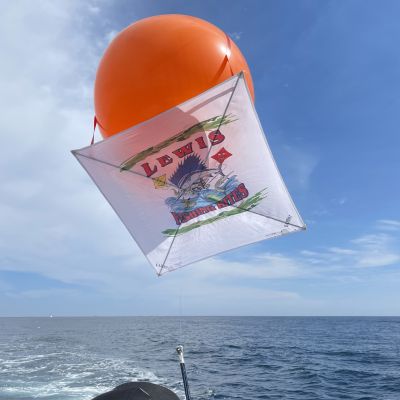
The square style kites are the most versatile style of kites. Serious kite fishermen will have a few different square kites as they range in size, materials, and weight. The many differences are due to different wind conditions, water resistance, and the weight of your presentation. Several brands make great ones, and they all have their advantages. If you’re a beginner to this style of fishing, I’d recommend a kite that suits your most common conditions. In the Southern California Bight you’ll need a kite that will fly in medium wind, meaning 8-15 mph. Because our winds can vary, anglers have adopted to use of a helium balloon attached to their kite to have one kite be more versatile, as well as avoid the possibility of the kite ending up in the water by accident. Though not necessary, this practice does simplify the practice of flying a kite significantly.
-
-
-
 DNR - SeaQualizer Kite ThongsOut of stock
 - AFTCO Kite KitsOut of stock
-
RIGGING YOUR BALLOON
While setting up and rigging your kite is intuitive, rigging the helium kite balloon to be placed on the kite is not, and we set up some images to help in setting up this presentation.
- You’ll want to have your kite all set up and attached to your kite rod, and lay your kite on a flat surface with the spars facing up.
- Place an item on the kite with some weight, so that the kite and the balloon stay seated once the balloon is attached.
- You’ll need a large balloon filled with helium. The circumference of the balloon should be around 78” or larger once filled with helium.
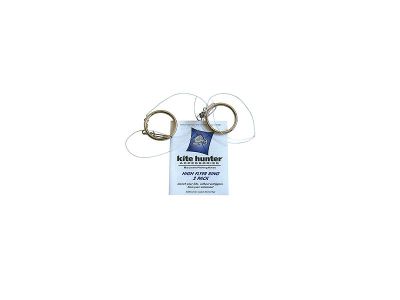
- The first way to secure your balloon is to tie two crossing lines. This can be anything from extra braid to some extra mono. This is a light line, not to be used with a heavy line.
- Secure the crossing lines firmly, but not too firmly where it’s pulling on the kite’s spars.
- Once you have your balloon in place, you’ll want to give it a slight push forward toward the leading edge of the kite. At this point, you’ll take a 2”x2” piece of tape (painter's tape, duct tape) and place it where the crossing lines meet.
NOTE: Some quick items to note that can make a difference.
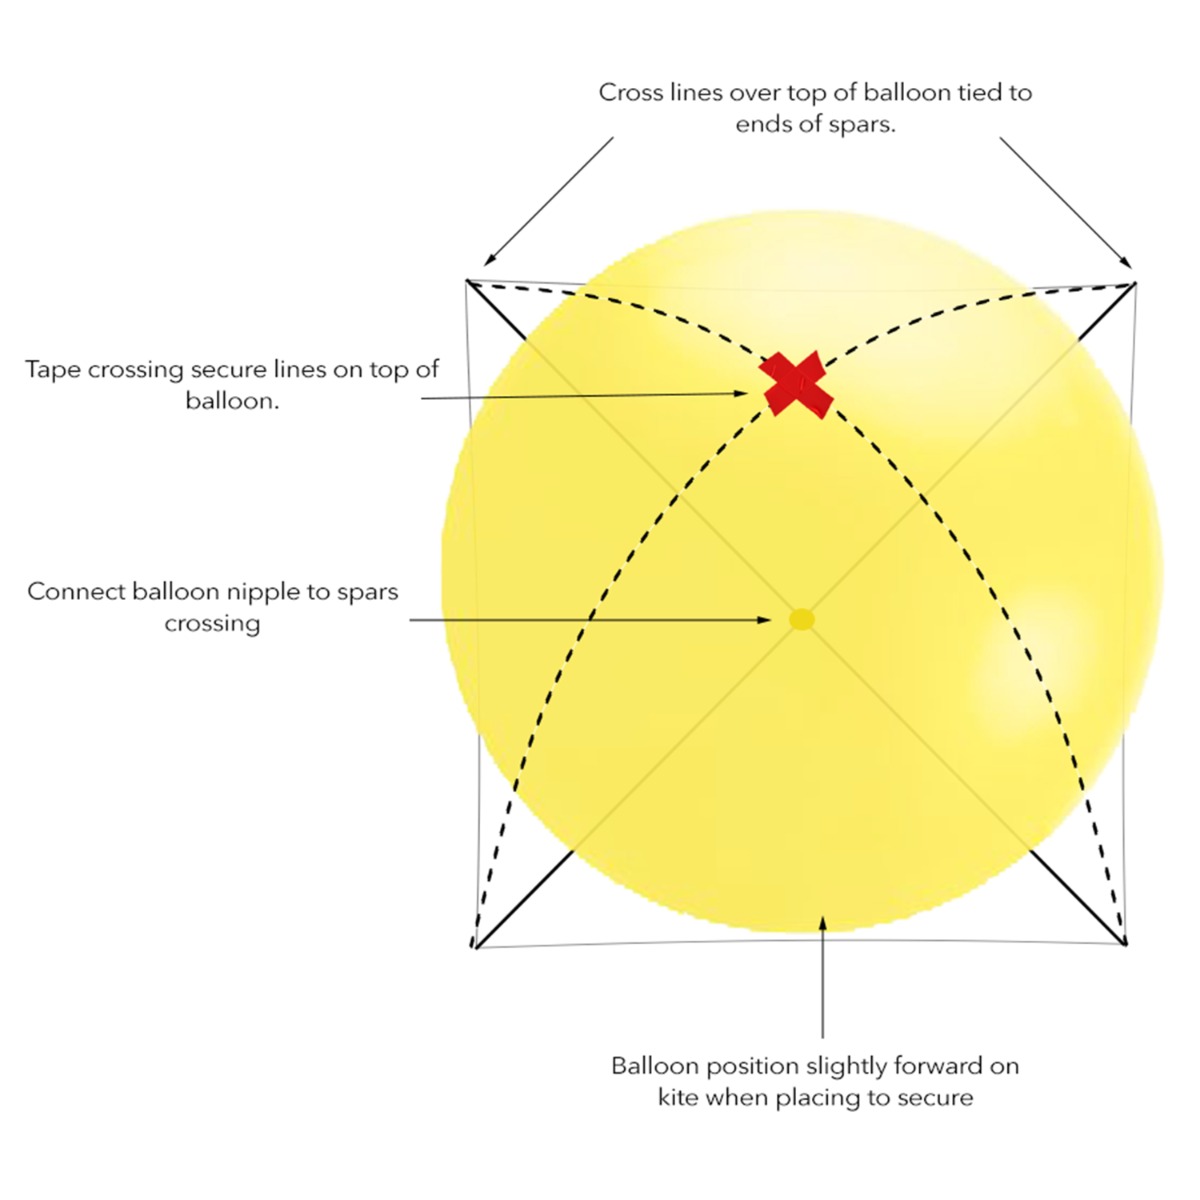
Diagram illustrating how to secure a helium balloon to a kite frame. The lines are crossed and tied to the spar ends, taped together over the balloon, and connected at the balloon’s nipple (Red X) where the spars intersect. The balloon should be positioned slightly forward on the kite before securing.
- Helium expands as it rises in elevation, so it is better to underinflate than to overinflate.
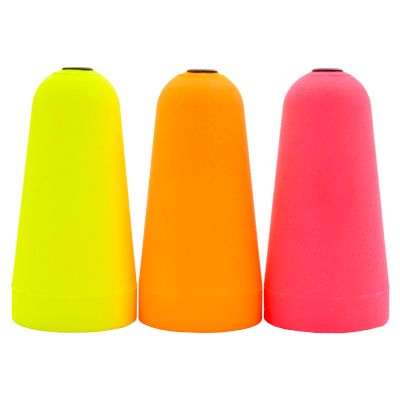
- It’s important to take color into consideration. Dark colors will absorb more heat, forcing the balloon to expand, which can cause it to pop. Again, underinflation is better than overinflation.
- Having a balloon tied to your kite will also allow you to drive with the kite up by helping to keep the kite from catching too much wind.
- Helium for this setup is usually purchased through a third-party gas distributor in your area. Make sure to access through someone that is certified to do so, as compressed air may be dangerous.
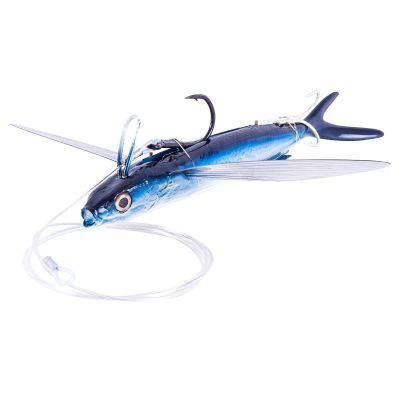
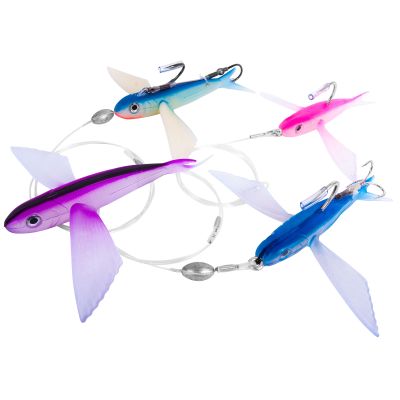
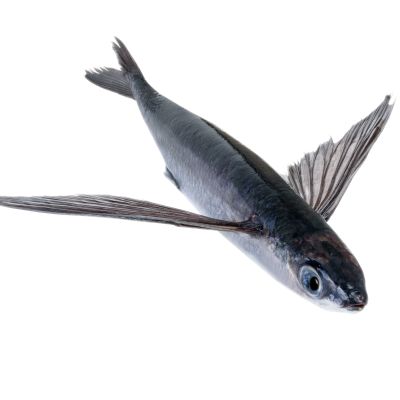
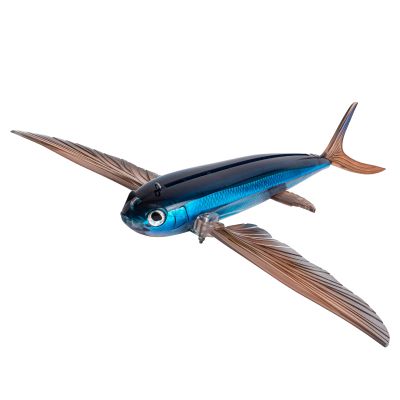
FLYING FISH OPTIONS
Flying Fish are generally a hard bait to come by on your own. In California, it’s illegal to net flying fish, and by law, can only be acquired by hook and line unless you have a commercial license. So, access to flying fish usually comes from purchasing dead,frozen flying fish from your local tackle shop. In the past, a dead-flying fish has been the “go-to” bait for this presentation to fish a kite setup. In recent years there has been some great substitutes for using live or dead flying fish in the form of artificial flying fish lures. There are a variety of brands now that have developed artificial flying fish that are meant to be rigged specifically for this technique. Different brands have their own rigging style, and they all work on the right day, some better than others. While there is often no substitution for the real thing, there is something to be said about the ability to re-rig quickly, the ability to reuse, and the fact that the bait does not have to be kept on ice nor cared for.
Today you can find some of our best captains in Southern California utilizing this method to target trophy-sized bluefin tuna on our local banks. Seeing the explosion of an aggressive tuna on a flying fish that you’ve strategically placed in front of the school can’t be put into words or described vividly enough to encompass the feeling of seeing this strike.
Below we’ve compiled a list of critical items needed to tackle this fishery and technique. Remember, fishing is a continual innovation. Don’t hesitate to put your spin on this technique, from lengthening the distance of the presentation to the boat to making the flying fish act life-like by playing the lure when presented.
While this style of fishing has a large range of nuances that are specific to this fishery, it is one of the most satisfying methods to tackle large gamefish. The idea of being able to mimic a fish, such as a flying fish, in a natural form through this creative method is one of the things that makes fishing so great. As anglers, we’re not solely looking to get a fish in the boat. The act of fishing is an ever-changing puzzle in order to entice a fish into accepting your presentation, and creativity is a big part of this. There is no singular way to develop a presentation or a rig, and anglers should always be thinking outside the box to improve, calibrate and experiment with presentations.
Until next time, tight lines.